

We are now going to use this method to find
the nodal point of your chosen lens ( the nodal point is different for each
lens and each focal length on a zoom lens).
1, Set up your system as discussed previously, centring your lens over the
table point of rotation as in Fig.3 and go outside.
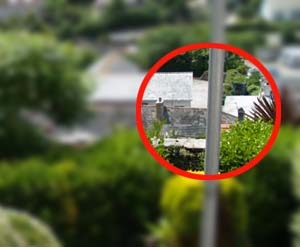
2, Set your lens to its widest angle. Now we need to look for 2 upright
objects, say a lamppost and telegraph pole and place the tripod so it is
inline with both posts. We need to be about 4mtrs away from the nearest
post but the distance is not critical. What we are going to do is the
parallax trick but looking through the camera at the 2 posts. in the
examples below I used the washing line pole in my garden and a roof top,
what
you choose to us is not important as long as you can see the parallax error
in your viewfinder).
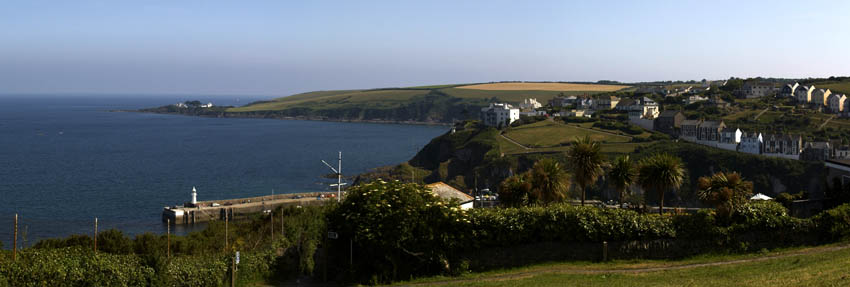
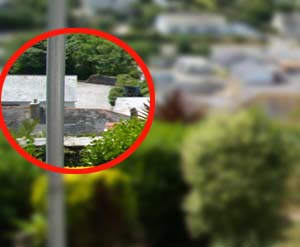
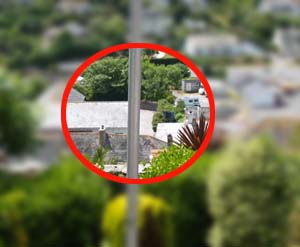
Look through the view finder, one post should be behind the other, if it is
not reposition the tripod do not pan to bring the posts inline. Now pan
the camera with the panorama bracket to the left and the posts should part.
Now pan right and the posts should come back together when the camera is
pointing straight ahead and part on the opposite side when panned fully
right.
So how do we apply this to your panorama rig? As you have already set your
camera to rotate about the lens centre all you have to do is move your
camera backward or forward along the long top slot until the posts you have
chosen stay inline, That is the nodal point. When you find this point mark
it on the bracket. If you want to use your rig at different focal lengths
just adjust your zoom and find the point where the posts stay in line as
before.

andromeda431@tiscali.co.uk